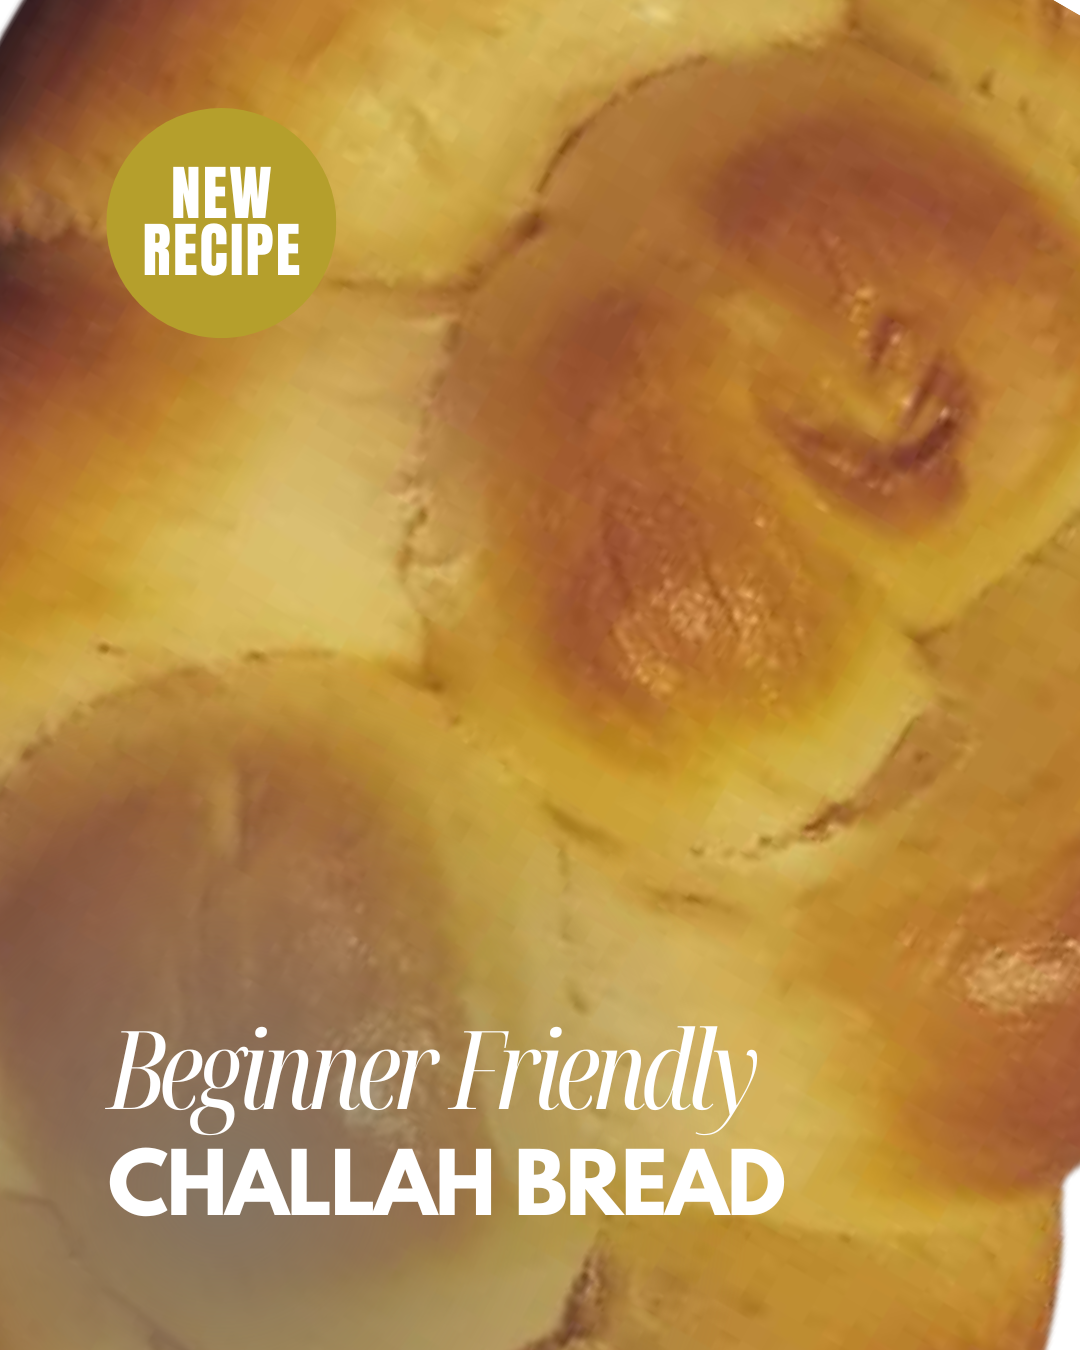
Add this recipe to your arsenal and make great french toast, sandwiches, and snacks.
Jump to RecipeI made my first Challah when I was a teenager. I went through a fun little phase where I experimented with recipes and braiding styles. A simple three-strand braid is a great starting point. I love to use a four-strand braid and leave the loaf long for sandwiches and french toast. A challah round or crown is a beautiful center piece for Challahdays (holidays) and gatherings. I’ve never been able to master the traditional six-strand braid, so I keep it simple.

Recommended Tools
Challah and any bread can be made without a mixer, but you will need some arm strength and the ablility to knead for a while. I love my Kitchenaid Stand Mixer for making dough. I also use it as a food processor, cheese grater, and slicer. She really is the most hardworking kitchen helper.
A bowl scraper is a flexible plastic tool that helps get all of the dough out without leaving little clingers in the bowl. A bench scraper is rigid and helpful to scoop the dough off your kneading surface. I use both frequently in my kitchen.
A flour sack towel is my preferred bowl cover for making bread, but you can also use a wet paper towel or evel cling wrap to cover your dough while it rises.
Parchment paper is a versitile tool for the kitchen and helps save your pans from sticky messes. Make sure you get parchment that can be baked on. Some brands say “parchment” but they will burn and stick to your dough, which is a pain to pull out once your loaf has baked.
Gather your tools and ingredients and let’s get to baking!

Bloom Yeast
The first step is to “bloom” your yeast in warm water with some sugar. This step activates your yeast so it’s ready to rise. It is important to use warm, NOT hot water. Heat kills yeast. You can check the temperature of your water with a thermometer or just feel it. If you use a thermometer, your water should be between 100-110 degrees F. Once you have the right temperature water, sprinkle your yeast over the water and gently stir it to dissolve. Add one pinch of sugar to feed your yeast and kick start it. Let your yeast mixture sit for 5-15 minutes until it gets a foamy head, like a beer. If your yeast doesn’t bloom, double check that your water isn’t too hot. Dump out your yeast mixture if it doesn’t bloom in 15 minutes. Using active dry or instant yeast is best. Using fresh yeast or a yeast cake may not bloom as expected. If you live in a very cold area, you may need to wait longer for the yeast to activate.
The Wets
Once your yeast mixture is ready, you can continue with the “wets” of the recipe. I add the eggs + yolk, oil, and sugar directly to my yeast mixture, stir it together, and set it aside. This saves me dishes to wash and keeps all of my “wets” in one place. Why add sugar to the wets, even though it’s a dry ingredient? The sugar will dissolve and feed the yeast. In baking, sugar is commonly combined with eggs or butter, so I just do it this way.
The Dry
In the bowl of your mixer, or a large mixing bowl if you aren’t using a stand mixer, add your flour and salt. I hold the whip attachment in my hand to mix the dry’s together and creat a well in the center of the flour-salt-mixture. This is similar to making pasta.
It’s Dough Time
With your mixer on low speed, use the paddle attachment to gently combine the wets into the dry ingredients. Mix together until the flour is incorporated and not dusty looking. Once you have a shaggy dough, swap out your paddle for the dough hook. Knead the dough on medium speed for five-ish minutes, or until it pulls away from the sides of the bowl and is not stringy-sticky like bubble gum. When the dough is done kneading, it will be tacky, but not crazy sticky.
If you are going old school and kneading by hand, use a wooden spoon to incorporate the wet into the dry and mix until youget a shaggy dough. Use your bowl scraper to turn your dough out onto a lightly floured surface and knead by hand until you get a tacky-not-sticky dough. This will take some time.
First Rise
Once you have your kneaded dough, use your bowl scraper to scoop your dough out of your mixing bowl, or a bench scraper to scoop it off your kneading surface and into a lightly oiled bowl. Turn your dough around in the bowl, then cover the bowl with your towel or cling wrap. Allow the dough to rise in a warm place until it has doubled in size. This is your first rise and can take a while if you have a cold kitchen.
Shaping, Braiding
Once your dough has risen, it should be poofy and jiggly when you gently shake the bowl. Punch down your dough, then use your bowl scraper to scoop it out onto a floured surface. I like to use a bench scraper to divide the dough into three or four equal parts, depending on the kind of braid I’m doing. Roll the dough portions in your hands to make snakes and gently roll and pull the snakes into ropes. If you begin rolling your dough portions and they spring back or shrink, cover the dough with your towel again and let it rest for 5-15 minutes. Once you have 18-24 inch ropes, it’s time to braid. For a long loaf, braid as you would hair, and pinch the ends to close them. If you want a crown or round loaf, braid the ropes, then “tie” the braid in a half knot and tuck the ends under the round. Transfer your loaf to a parchment-lined baking sheet. Preheat your oven to 350 F.
Second Rise
For the second rise, cover your dough with your towel, and let rise for about 30 minutes until the dough is pillowy and the “knobs” spring back to a gentle push. This rise creates the little air pockets in the dough that make it soft and perfect for sandwiches and french toast. A dense, flat loaf will be gummy in the center once you bake it.
Egg Wash
After your dough has risen a second time, it’s ready to bake. For a shiny challah, brush the loaf with an egg wash using the reserved egg white and 1 Tbsp of water mixed together. If you don’t use an egg wash, your loaf will turn out fine, it will just be matte looking and have less of a “shell” for a crust. I have forgotten the egg wash before and nothing about the loaf was different other than the lack of shine.
Bake
Bake your loaf for 30-45 minutes until it is golden brown. A finished loaf will not feel heavy. When you “knock” on it, it will sound like a thump. Let your dough cool for 15-20 minutes before serving. If you want to slice it, make sure it is fully cooled or you may have some issues. We usually can’t wait that long, and often just pull the little bread knobs off once it is cool enough to touch.
Storage
Store your bread in a bread box or covered at room temperature. Your loaf should keep for 3-5 days before drying out completely. If you would prefer, you can store it in the fridge, but you should toast or warm up slices in the microwave for 15-20 seconds before serving.
Did you make this recipe? Do you have a preferred braiding style? Are you a slicer or a knobber? let me know in the comments. Happy baking!

Challah
Equipment
- 1 Stand mixer with paddle and dough hook attachments optional
- 1 Tea Towel To cover your dough when it rises
- 1 Parchment Paper
- 1 Bowl Scraper
Ingredients
Dough
- 1 cup Lukewarm water Around 100-110 °F
- 2 tsp Yeast Active Dry or Instant
- ¼ cup Sugar plus a pinch
- 4½ cups All-purpose flour plus more for dusting
- 1 Tbsp Kosher Salt
- 2 Large eggs
- 1 Egg yolk Reserve the white for the egg wash
- ¼ cup Neutral oil Vegetable or Canola
Egg Wash
- 1 Reserved egg white
- 1 Tbsp Water
Instructions
- Sprinkle yeast and a pinch of sugar over lukewarm water in a quart-sized bowl or measuring cup. Gently stir to dissolve the sugar and dissolve the yeast into the water. Set the yeast mixture aside and let bloom for a few minutes. The yeast will form a foamy "head" when it's act
- In the bowl of your stand mixer or a large mixing bowl, add ¼ cup of sugar, 4 cups of flour, and 2Tbsp Kosher salt. Mix to combine.
- Add 2 eggs + 1 yolk, and ¼ cup of vegetable oil to the bloomed yeast mixture. Gently stir together with a fork.
- Use your hand or a spoon to make a well in the center of your dry mixture. Start the mixer slowly if using one; use the paddle attachment at first. If mixing manually, use a wooden spoon to combine the wet and dry mixtures. Mix until a rough dough is formed.
- Switch to the dough hook or turn your dough onto a floured surface and knead by hand for five minutes. Stop kneading when your dough begins to pull away from the side of the bowl and is no longer sticky like bubble gum.
- Use a bowl scraper to scoop your dough into a large, lightly oiled bowl. Cover the dough with a damp tea towel and let it rise for 30 minutes or until doubled.
- Punch down dough. Scrape dough out onto a floured surface. Gently knead the dough into a uniform shape. Use your bowl scraper to cut the dough into three equal parts. Gently roll and stretch each piece into long snakes. Braid the strands like a traditional hair braid. Take the braid and tie it in a half knot around itself, tucking the ends underneath the loaf.
- Place the loaf on a parchment-lined baking sheet
- Preheat your oven to 350℉
- Cover the round and let it rise again until it's pillowy, around 30 minutes.
- Mix reserved egg white with 1 Tbsp of water. Brush eggwash over loaf
- Bake the loaf for 30-45 minutes until it is golden brown. Let cool for 15 minutes before slicing, or just rip into the little knobs as soon as it's cool enough to handle.
This post contains affiliate links. I may earn a commission on purchases made through these links. There is no extra cost to you to use these links.


Leave a Reply